How to make bread
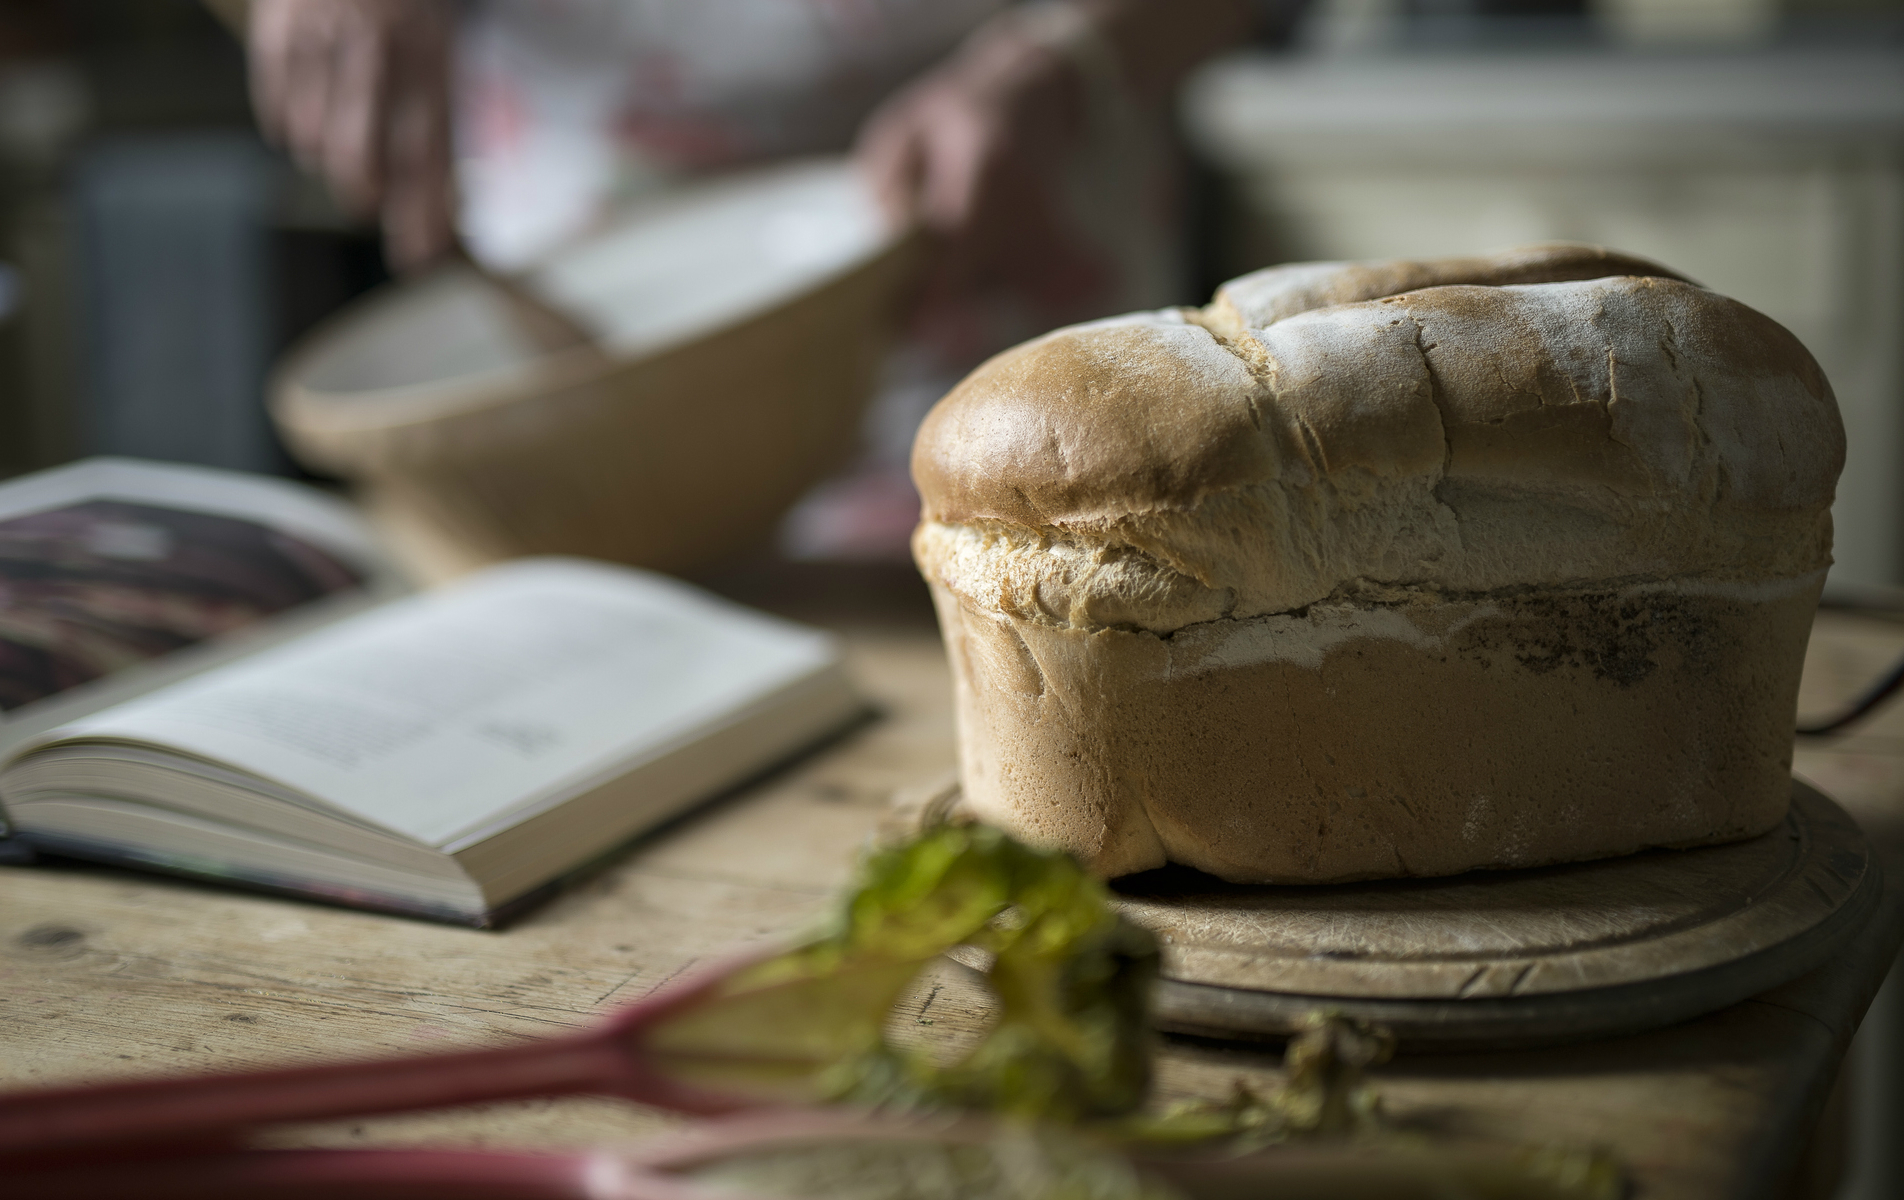

From storing to proving, from equipment to top tips, follow our step-by-step guide to learn how to make bread.
Bread is a staple food that is traditionally made from a flour and water based dough. There are many ways to make bread as it varies in complexity, time, and ingredients recipe to recipe. A traditional white loaf is made using yeast, bread flour, salt, oil, and water. But there are other types of bread too, which use different ingredients. For example, sourdough bread is made with just flour, water, and sea salt. And soda bread is made using bicarbonate of soda.
Bread has been adapted all over the world. From oven-baked focaccia from Italy to round flatbread roti made traditionally from stoneground wholemeal flour in India. Bread is a versatile food that can be served with both sweet and savoury options.
Baking bread is a useful skill that can be easily taught. Find out all you need to know about baking bread. We’ve also got some recipes using bread to inspire too…
*How to make bread *What is proving bread? *How to knead bread dough *Do you need special equipment to make bread?
How to make bread
Follow these simple steps to make this classic white bread loaf. Ideal for beginners, we have explained every step in detail. The prep for this recipe takes approximately 1 hour 10 mins (which includes time for the dough to rise). It will produce a large loaf that can be sliced into 10-12 pieces, depending on how thick you like it.
Ingredients
- 500g white strong plain flour
- 7g sachet easy-bake/fast-action yeast
- 1tsp salt
- 2tbsp sunflower oil
- Bread loaf tin
Method
Step 1: Combine your mixture
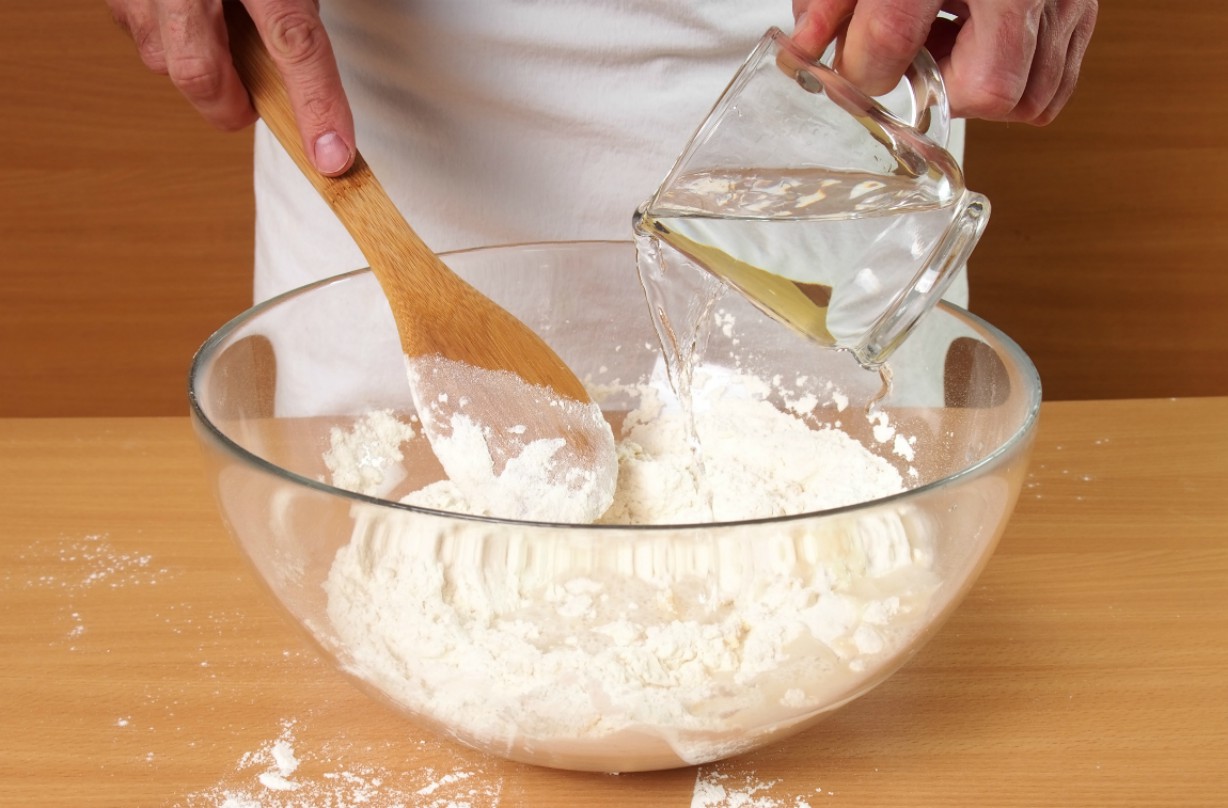
Put the flour into a bowl, add the yeast, and stir. Now add the oil. Pour in 300ml warm water. The water should be warm to the touch but not hot. Next mix in the salt until the mixture is smooth.
Parenting advice, hot topics, best buys and family finance tips delivered straight to your inbox.
Step 2: Knead the bread
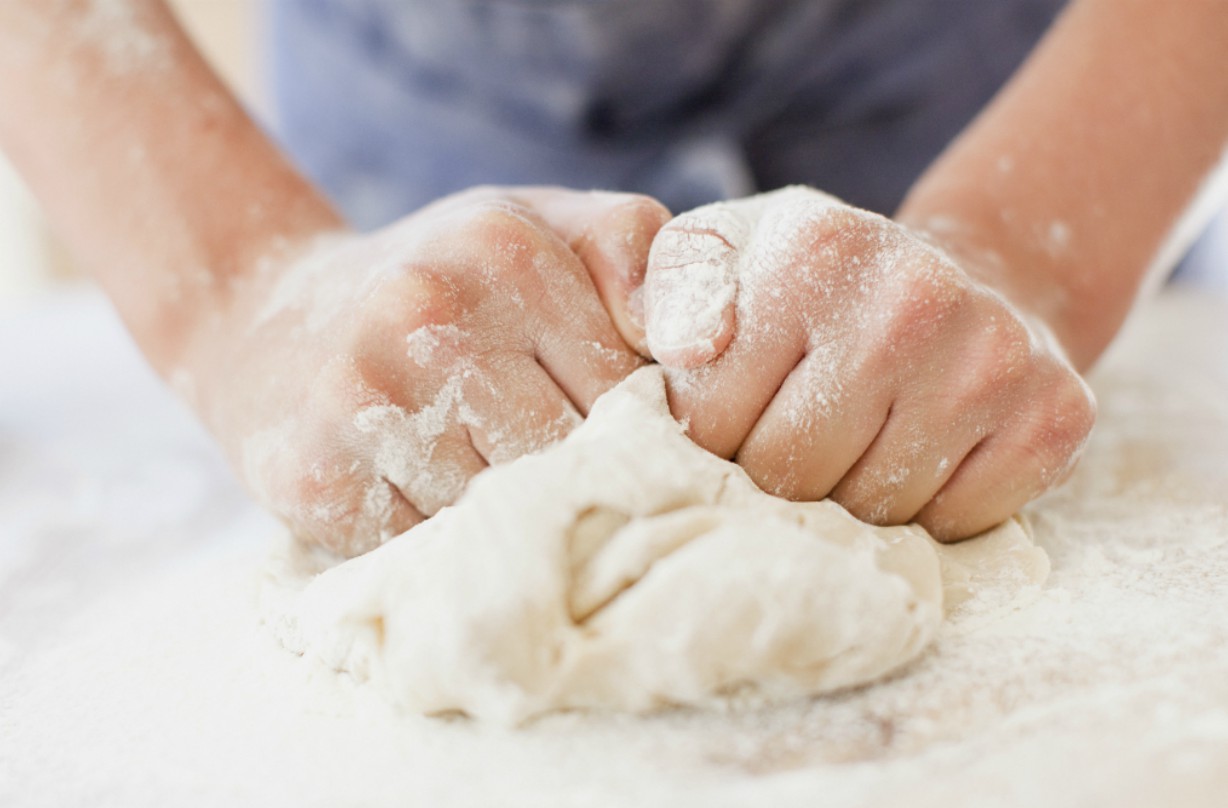
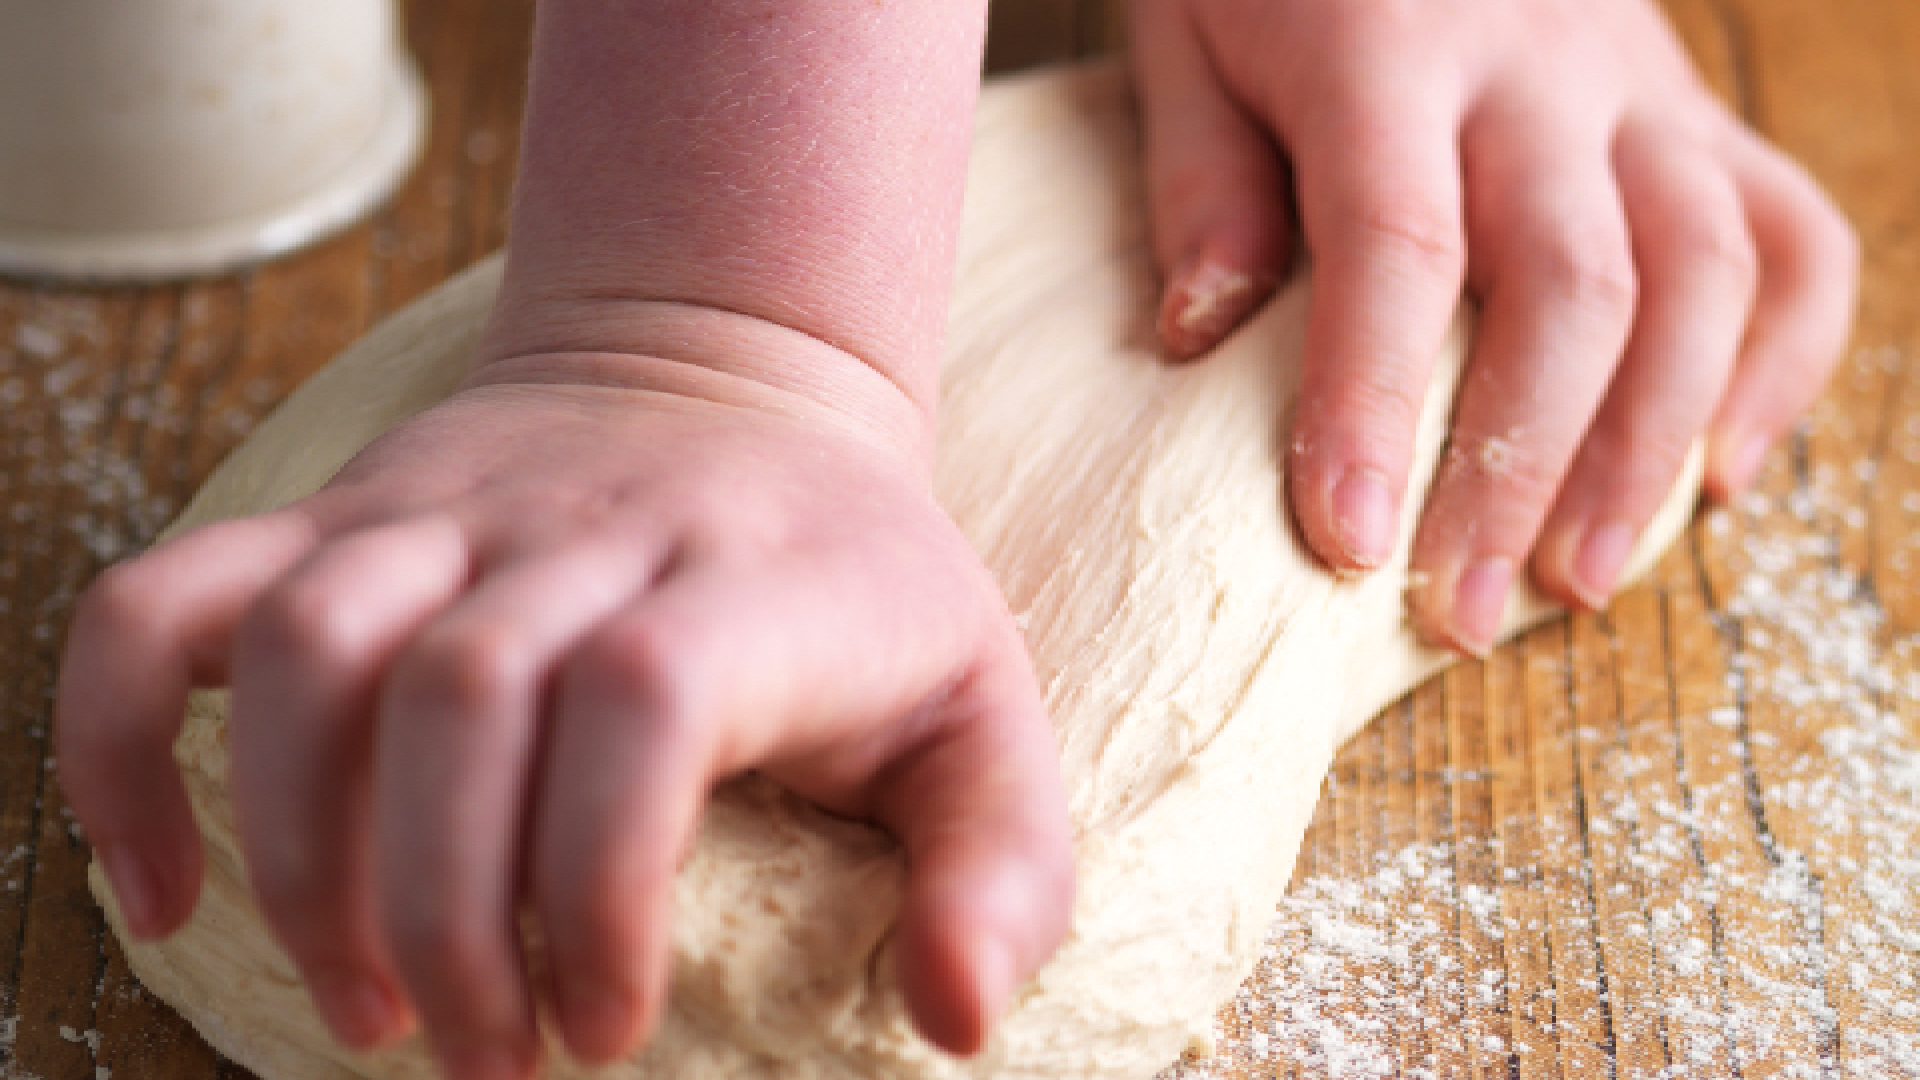
Tip the mixture out onto a lightly floured work surface and knead it by hand for 5-7 mins. To knead by hand push the dough away from you onto the surface using the palm of your hand. Then collect the end and fold it over. And repeat.
Alternatively, knead in a food mixer with a dough hook for about 5 mins.
The dough should be smooth and very elastic. Look at the tips below for an easy way to see when the dough is ready.
Step 3: Leave to prove
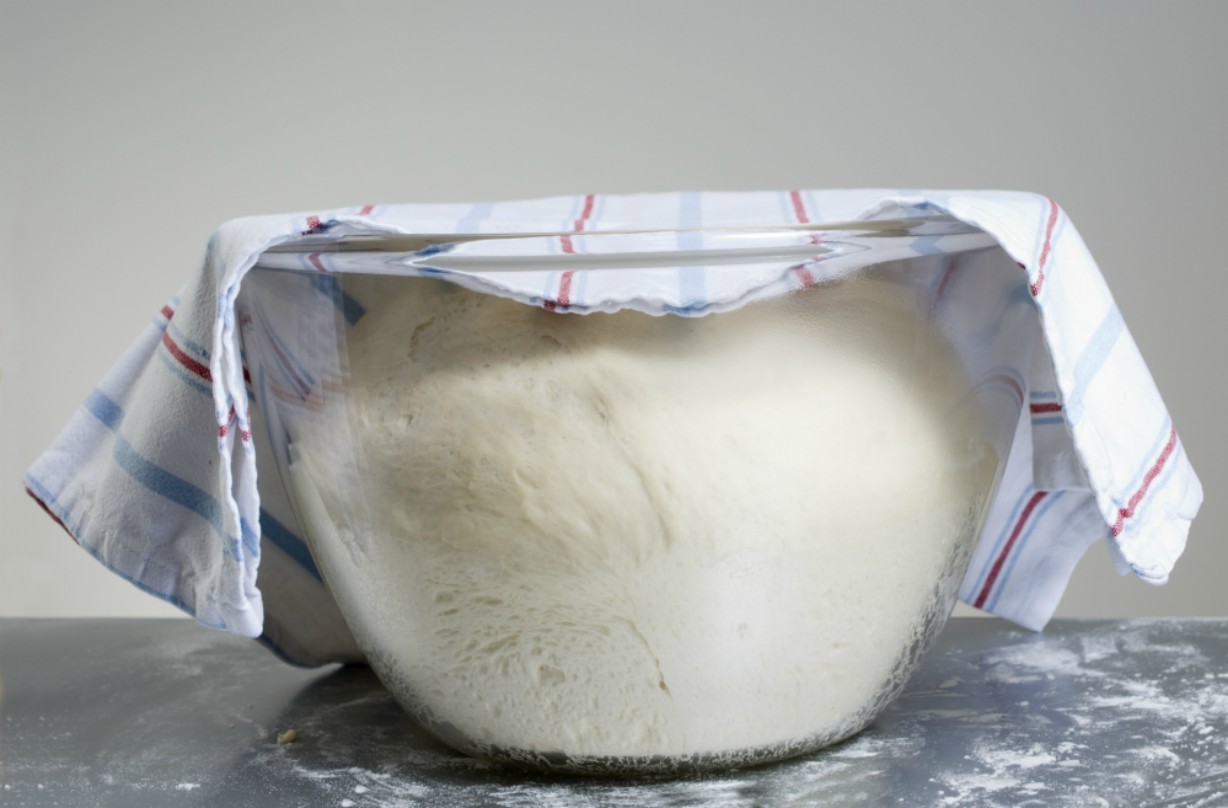
Place the dough in an oiled bowl and cover with a clean tea towel. The oil in the bowl will stop the dough from sticking and the tea towel will contain the warmth and stop anything from contaminating the dough. Leave the dough in a warm place for about 1 hr, or until it has almost doubled in size.
Step 4: Knead the bread again
Turn the dough out onto a lightly floured surface and knead it again briefly. This is called knocking the dough back. Knocking the dough back helps to give the bread a better structure once baked. Fold the edges into the centre, then flip the dough over and use your whole hands to spin the dough and pull it towards you on the surface. It will form into an oval shape.
Step 5: Press the dough into a tin
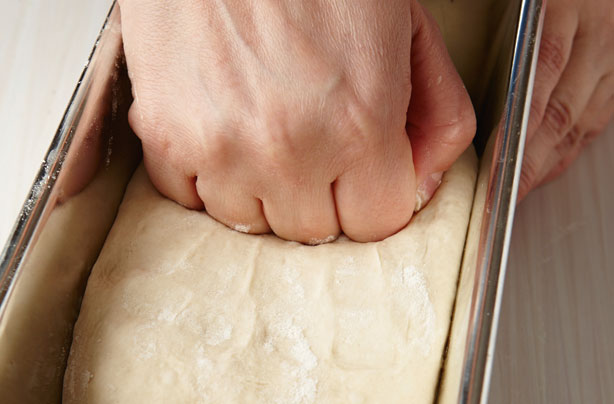
Place this into the tin and press the dough into the corners using your knuckles. Dust the top with a little extra flour. Leave the loaf to prove until it rises above the level of the tin.
Step 6: Bake your bread
Set the oven to 220C/425F/Gas 7, and put a solid baking sheet on the shelf below the one on which the bread will be baked. Working quickly, so it doesn’t lose too much heat while the oven door is open, pour water onto the hot baking sheet underneath the loaf, and around the loaf to create a steamy atmosphere. Bake the bread for 20 mins.
After 20 mins reduce the oven temperature to 180C/350F/Gas 4 and cook it for a further 20 mins until golden on top.
To test the readiness of the loaf removed it from the tin, the base should sound hollow when tapped. If it doesn’t, return the loaf (on a baking sheet) to the oven for 5-10 mins, which will help to crisp the sides. Cool on a wire rack.
TOP TIPS: Yeast is delicate and is susceptible to both heat and salt. Be careful when making bread that the water you add is not too hot as this will kill the yeast. Salt also retards yeast. However salt is essential in bread making for flavour. So just make sure you don’t allow the yeast to touch the salt until it’s in your mixture.
There are lots of factors that can affect the time it will take your bread to rise. We suggest you put it into a glass bowl so you can easily monitor it. When the dough has almost doubled in size it’s ready to knock-back. Adding steam to the oven when cooking the bread will help to create a crispy crust.
What is proving bread?
Bread dough is typically made using an active ingredient such as yeast or a sourdough starter. These will require time to activate and to create gasses that cause the bread to rise. This process is called proving.
The time that it takes to prove bread varies depending on the type of bread you are making and the active ingredient that you are using. It will also vary depending on the temperature and other ingredients in the bread. If you are in a rush there are types of bread such as soda bread that do not need time to prove.
How to knead bread dough
Kneading dough activates the gluten in the flour. This will help to support the dough as it rises, so for a light fluffy bread, it’s essential that the dough is kneaded enough.
You can either knead bread by hand or by using a dough hook attachment on a stand mixer. There are a few different techniques for kneading bread by hand. We find that this is the easiest way to knead bread:
- Use one hand to hold the dough and using the palm of your other hand to stretch the bread away from you.
- Fold the outstretched dough back on itself and flip the dough over. Repeat until the dough is sufficiently kneaded.
To test if you have kneaded the dough sufficiently take a small piece of dough and stretch it in all directions. If you can make it thin enough to see light through it without it tearing then the dough is kneaded enough. This is called the window test.
'Knocking-back' the dough
Some bread recipes will also suggest 'knocking-back' the dough after the first prove. You can use the kneading technique above to knock the air out of the bread. Alternatively, you can fold the dough to deflate it. It is ready when there are no large pockets of air left.
Knocking back bread will give the final loaf a better structure and help it to rise evenly when it bakes, after the second prove. It will also improve the flavour of the bread as it maximises the time it takes to prove and develop flavour.
How to shape bread
You can use the dough recipe above to make different shaped bread too including rolls, knot bread, and a traditional cob loaf.
How to shape bread rolls
If you fancy making bread rolls instead use the same method above to make the dough and then divide the dough into 60g pieces.
Roll the pieced of dough into balls, then hold in the palm of your hand and pull the edges in, repeating to give a smooth top. Place on a baking tray with the folds underneath.
How to shape a small cob loaf
Break off one-third of the dough and shape both pieces into balls. Brush the larger ball with water and place the smaller one on top. Press a floured finger through the center of both until it touches the baking tray.
How to shape a sausage-shaped roll
Roll the dough with one hand, moving the hand up and down as you roll it, to lengthen it.
How to make a knot bread
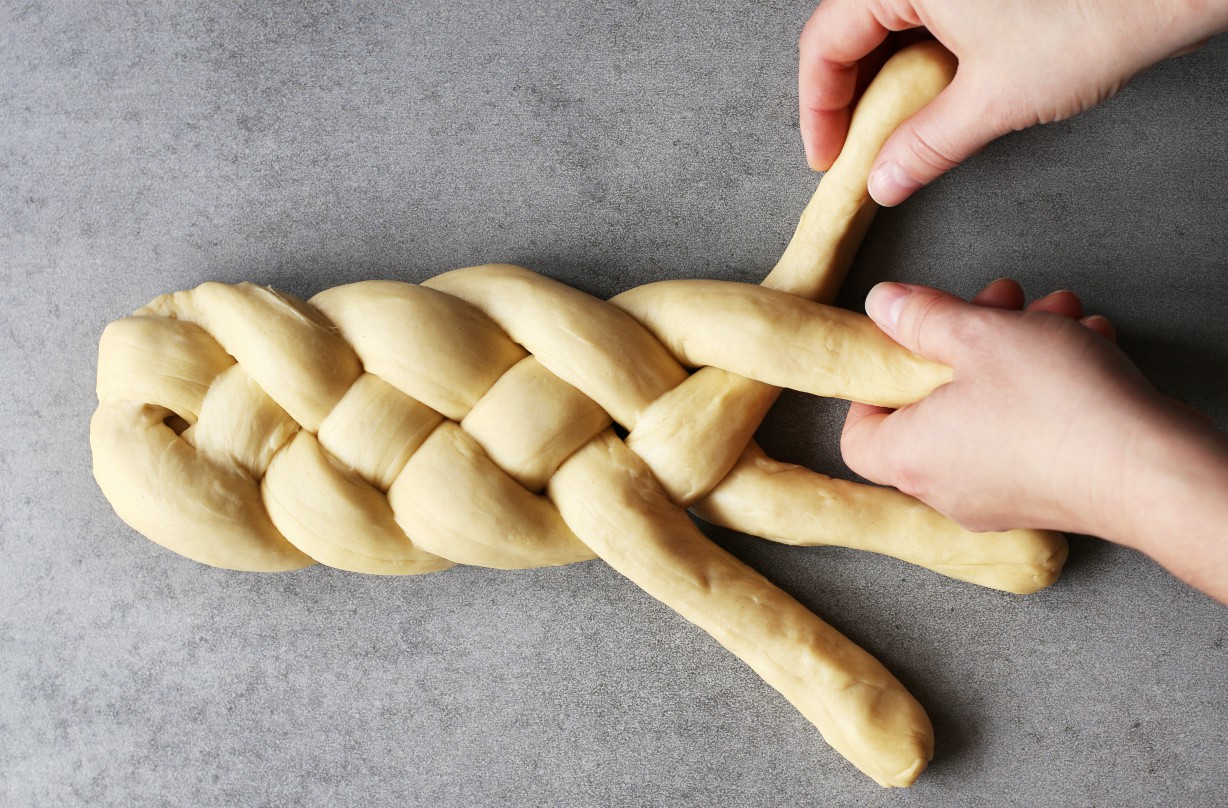
Roll the dough out into a long sausage shape and form into a loose knot.
For plaits: divide a piece of dough into three and roll each piece out into a sausage shape. Press three ends together then plait the pieces, pressing the other end together well.
Set the oven to 220°C/425°F/Gas Mark 7. After the rolls have proved, glaze with egg wash and then sprinkle over toppings, if you want. Bake for about 15-20 mins, or until the rolls sound hollow when their bases are tapped. Transfer to a wire rack to cool completely.
How to store homemade bread
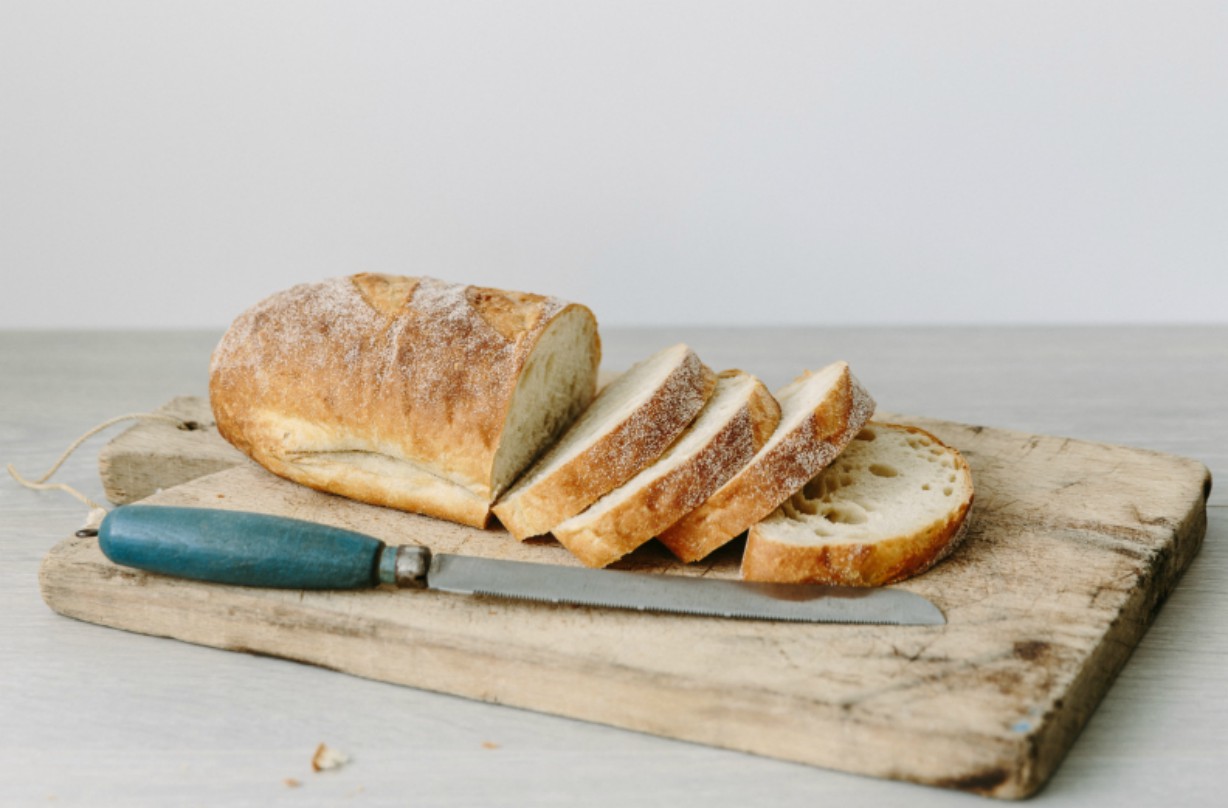
You can store homemade bread for up to four days in the bread bin. But it’s always best eaten fresh on the day it’s made as it goes stale over time. Sourdough bread will keep for a little longer.
To refresh stale bread wrap it in foil and warm it in the oven. Alternatively, you can use stale bread in other dishes such as bread and butter pudding or to make croutons or breadcrumbs. But never eat moldy bread.
Bread will keep well for up to 3 months in the freezer. So there’s no need for waste. Before freezing bread we suggest you cut it into slices. This way you can just remove the bread you need and toast it. If you freeze an entire loaf you can thaw this by heating it in the oven.
Do you need special equipment to make bread?
You do not need any fancy equipment to bake bread. You will just need a bowl and a loaf tin and your oven. If you don’t have a loaf tin there are other shapes below that don’t require a tin.
If you progress onto making other bread types and begin baking regularly you may find dough scraper a useful tool. A dough scraper is a piece of metal or plastic that is useful for handling and cutting bread dough. They are particularly helpful when working with very wet doughs.
Another tool that makes making bread a lot easier is a stand mixer with a dough hook attachment. You can knead bread by hand but it can take a while and be messy. Using a dough hook means that all the mess is contained in the bowl and the mixer can knead the bread much faster than a human.
For other types of bread you may require other tools such as a proving basket, but this will be explained in each individual recipe.
Related video:

Rose Fooks is Deputy Food Editor at Future Publishing, creating recipes, reviewing products and writing food features for a range of lifestyle and home titles including GoodTo and Woman&Home. Before joining the team, Rose obtained a Diplome de Patisserie and Culinary Management at London’s Le Cordon Bleu. Going on to work in professional kitchens at The Delaunay and Zedel.